


- Langkah 1 - Installasi Axios
- Langkah 2 - Menampilkan Profile User
- Langkah 2 - Uji Coba Menampilkan Data Profile
- Kesimpulan
Halo teman-teman semuanya, pada artikel sebelumnya kita semua telah berhasil belajar bagaimana cara membuat proses login dengan Google di dalam Vue. Dan pada materi kali ini, kita semua akan belajar bagaimana cara menampilkan informasi user yang telah login tersebut.
Langkah 1 - Installasi Axios
Karena kita akan melakukan fetch ke backend API Google, maka kita butuh library untuk mempermudah dalam melakukan proses Http request, yaitu bernama Axios.
Silahkan teman-teman jalankan perintah berikut ini di dalam terminal/CMD dan pastikan berada di dalam project Vue.
npm install axios@1.7.7
Langkah 2 - Menampilkan Profile User
Silahkan teman-teman buka file src/App.vue, kemudian ubah semua kode-nya menjadi seperti berikut ini.
<script setup>

//import ref and onMounted
import { ref, onMounted } from 'vue';

//import googleTokenLogin
import { googleTokenLogin } from 'vue3-google-login';

//import axios
import axios from 'axios';

//state accessToken
const accessToken = ref(localStorage.getItem('accessToken'));

//state profile
const profile = ref(JSON.parse(localStorage.getItem('profile')));

//function fetchUserProfile
const fetchUserProfile = async (token) => {
  try {
    const res = await axios.get('https://www.googleapis.com/oauth2/v1/userinfo', {
      headers: {
        Authorization: `Bearer ${token}`,
        Accept: 'application/json',
      },
      params: {
        access_token: token,
      },
    });

    //assign response to state profile
    profile.value = res.data;

    //store response to localStorage
    localStorage.setItem('profile', JSON.stringify(res.data));

  } catch (error) {
    console.error('Failed to fetch user profile:', error);
  }
};

onMounted(() => {
  if (accessToken.value && !profile.value) {
    fetchUserProfile(accessToken.value);
  }
});

const login = () => {
  googleTokenLogin().then((response) => {

    //set state accessToken
    accessToken.value = response.access_token;

    //store accessToken to localStorage
    localStorage.setItem('accessToken', accessToken.value);

  })
}
</script>

<template>
  <div class="container mt-5">
    <div class="row justify-content-center">
      <div class="col-md-6">
        <div class="card border-0 rounded shadow-sm">
          <div class="card-header">
            <h5 class="card-title mb-0">Google Login with Vue 3</h5>
          </div>
          <div class="card-body">
            <div class="text-center">
              <div v-if="profile">
                <div class="text-center mb-3">
                  <img :src="profile.picture" class="rounded-circle bg-dark p-2 shadow" alt="User profile" />
                </div>
                <table class="table table-striped table-bordered">
                  <tbody>
                    <tr>
                      <td class="fw-bold">Full Name</td>
                      <td>{{ profile.name }}</td>
                    </tr>
                    <tr>
                      <td class="fw-bold">Email Address</td>
                      <td>{{ profile.email }}</td>
                    </tr>
                  </tbody>
                </table>
              </div>
              <div v-else>
                <button class="btn btn-primary" @click="login">Login with Google</button>
              </div>
            </div>
          </div>
        </div>
      </div>
    </div>
  </div>
</template>

<style scoped>
/* Add your styles here if needed */
</style>
Dari perubahan kode di atas, pertama kita import hook onMounted dari Vue.
//import ref and onMounted
import { ref, onMounted } from 'vue';
Kemudian kita import Axios.
//import axios
import axios from 'axios';
Setelah itu, kita membuat state baru dengan nama profile.
//state profile
const profile = ref(JSON.parse(localStorage.getItem('profile')));
Selanjutnya, kita membuat function baru dengan nama fetchUserProfile.
// function to fetch user profile
const fetchUserProfile = async (token) => {

	//...

}
Di dalamnya, kita melakukan fetch ke backend API Google dengan mengirimkan token atau accessToken,
// call google api to fetch user profile
const res = await axios.get(
  'https://www.googleapis.com/oauth2/v1/userinfo',
  {
    headers: {
      Authorization: `Bearer ${token}`,
      Accept: 'application/json',
    },
    params: {
      access_token: token,
    },
  }
);
Jika proses fetch berhasil dilakukan, maka kita akan assign response data ke dalam state profile dan localStorage.
//assign response to state profile
profile.value = res.data;

//store response to localStorage
localStorage.setItem('profile', JSON.stringify(res.data));
Agar function fetchUserProfile dijalankan saat halaman diakses, maka kita perlu memanggilnya di dalam hook onMounted.
onMounted(() => {
  if (accessToken.value && !profile.value) {
    fetchUserProfile(accessToken.value);
  }
});
Di atas, jika state accessToken bernilai true dan state profile bernilai false, maka kita akan memanggil function fetchUserProfile dengan memberikan parameter state accessToken.
Kemudian di dalam return, kita membuat kondisi untuk menampilkan data profile. Jika state profile ada nilainya, maka kita akan tampilkan data-nya, jika tidak, maka button login yang ditampilkan.
<div v-if="profile">

	//tampilkan data profile

<div v-else>

 	//button login with Google

</div>
Langkah 2 - Uji Coba Menampilkan Data Profile
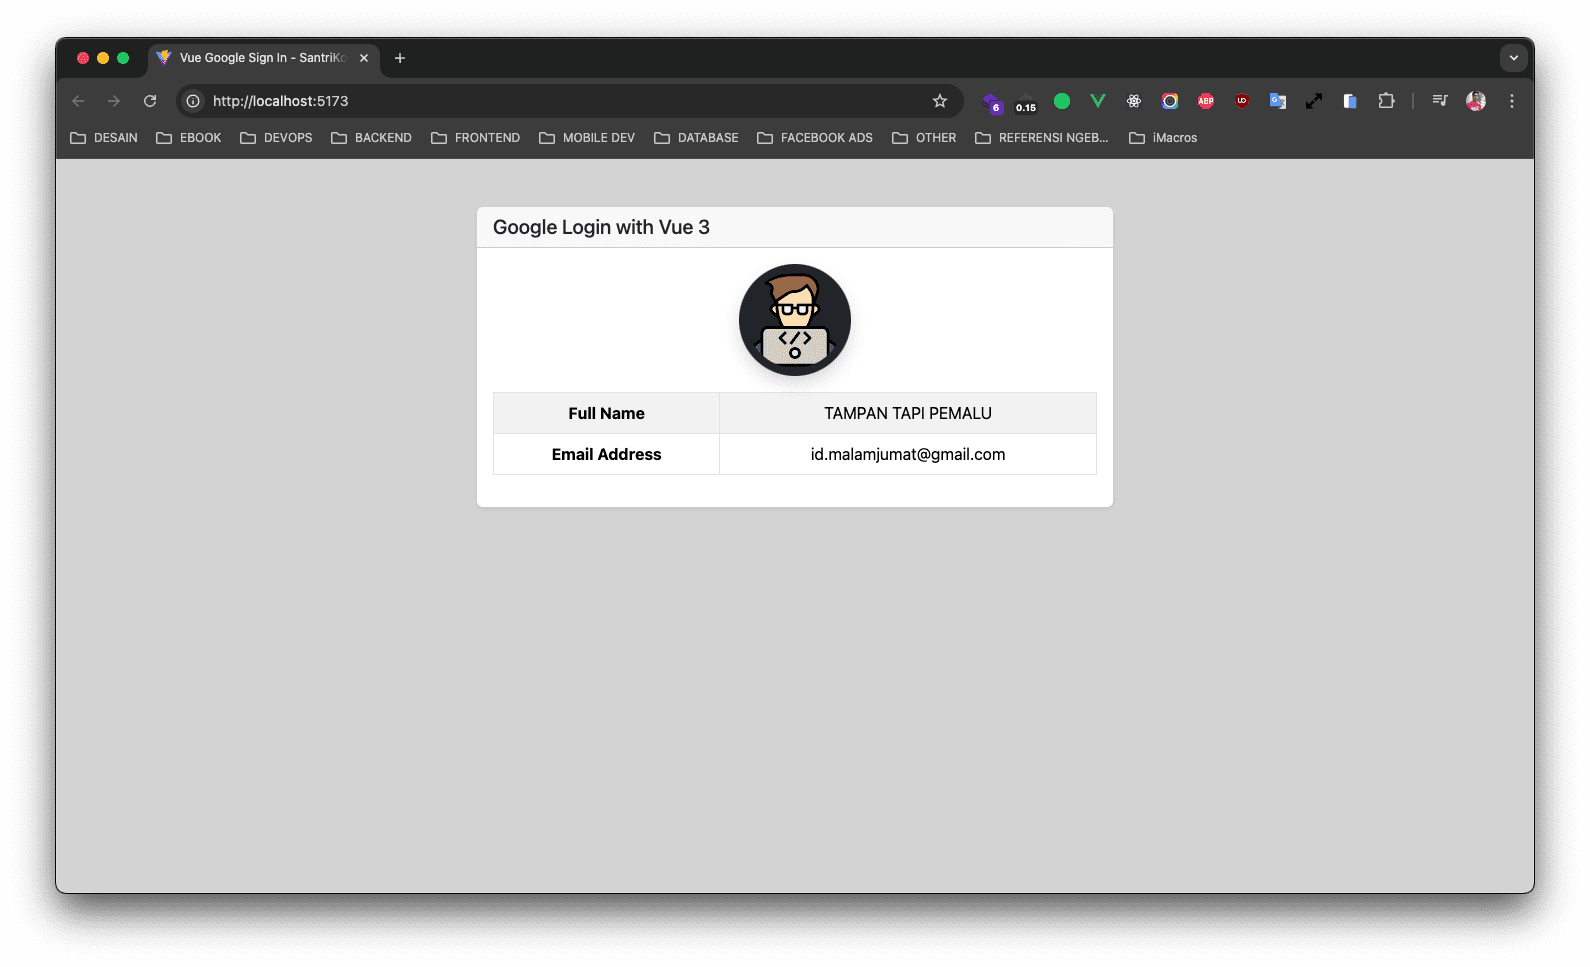
Silahkan teman-teman reload halamnnya, maka sekarang kita sudah berhasil menampilkan data profile, kurang lebih seperti berikut ini.
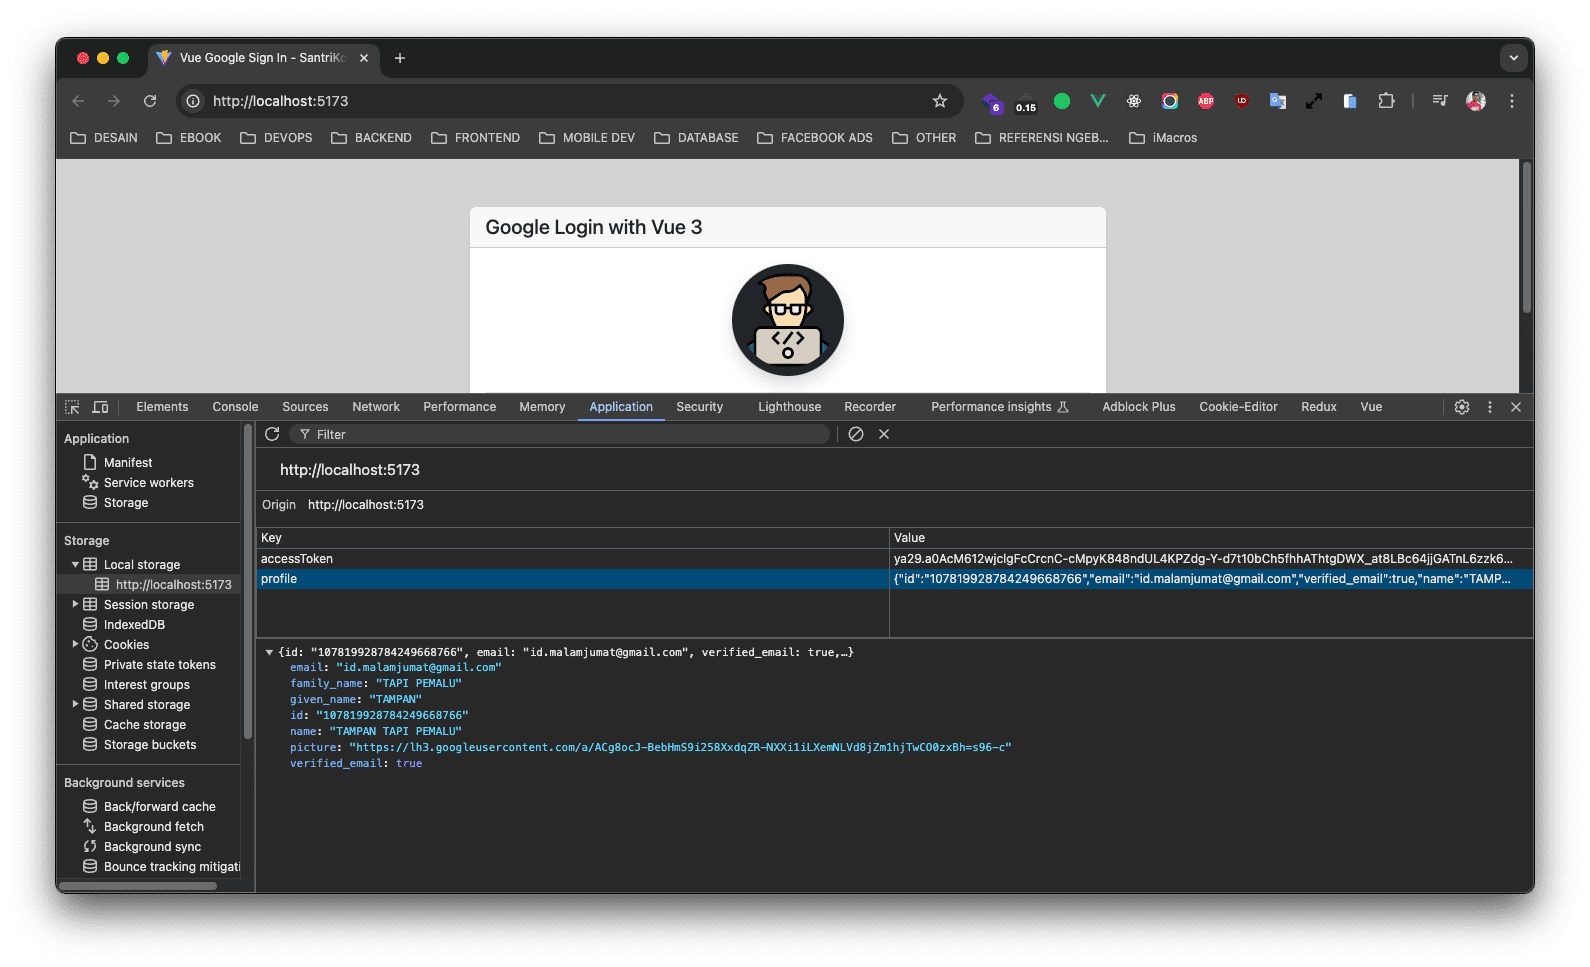
Jika teman-teman lihat di dalam localStorage, maka data profile juga akan disimpan disana.
Kesimpulan
Pada materi kali ini, kita telah berhasil belajar bagaimana cara menampilkan detail profile user yang sedang login menggunakan accessToken.
Pada artikel selanjutnya, kita semua akan belajar bagaimana cara membuat proses logout di project Vue.
Terima Kasih
 SAWERIA
Memuat komentar...